Saturday 23 March 2013

Easter nails!!

So I thought it was about time to quit my slacking and finally get round to doing my first post on here! And I thought I would start with some Easter/spring themed nails as it is meant to be that time of year... not that the weather knows it :/!
 
I'll be the first to admit, I'm not the most artistic or patient person, so my nails probably wont ever be as good as some of the other posts on here. But the good thing about that is, if I can do it anyone can!
 
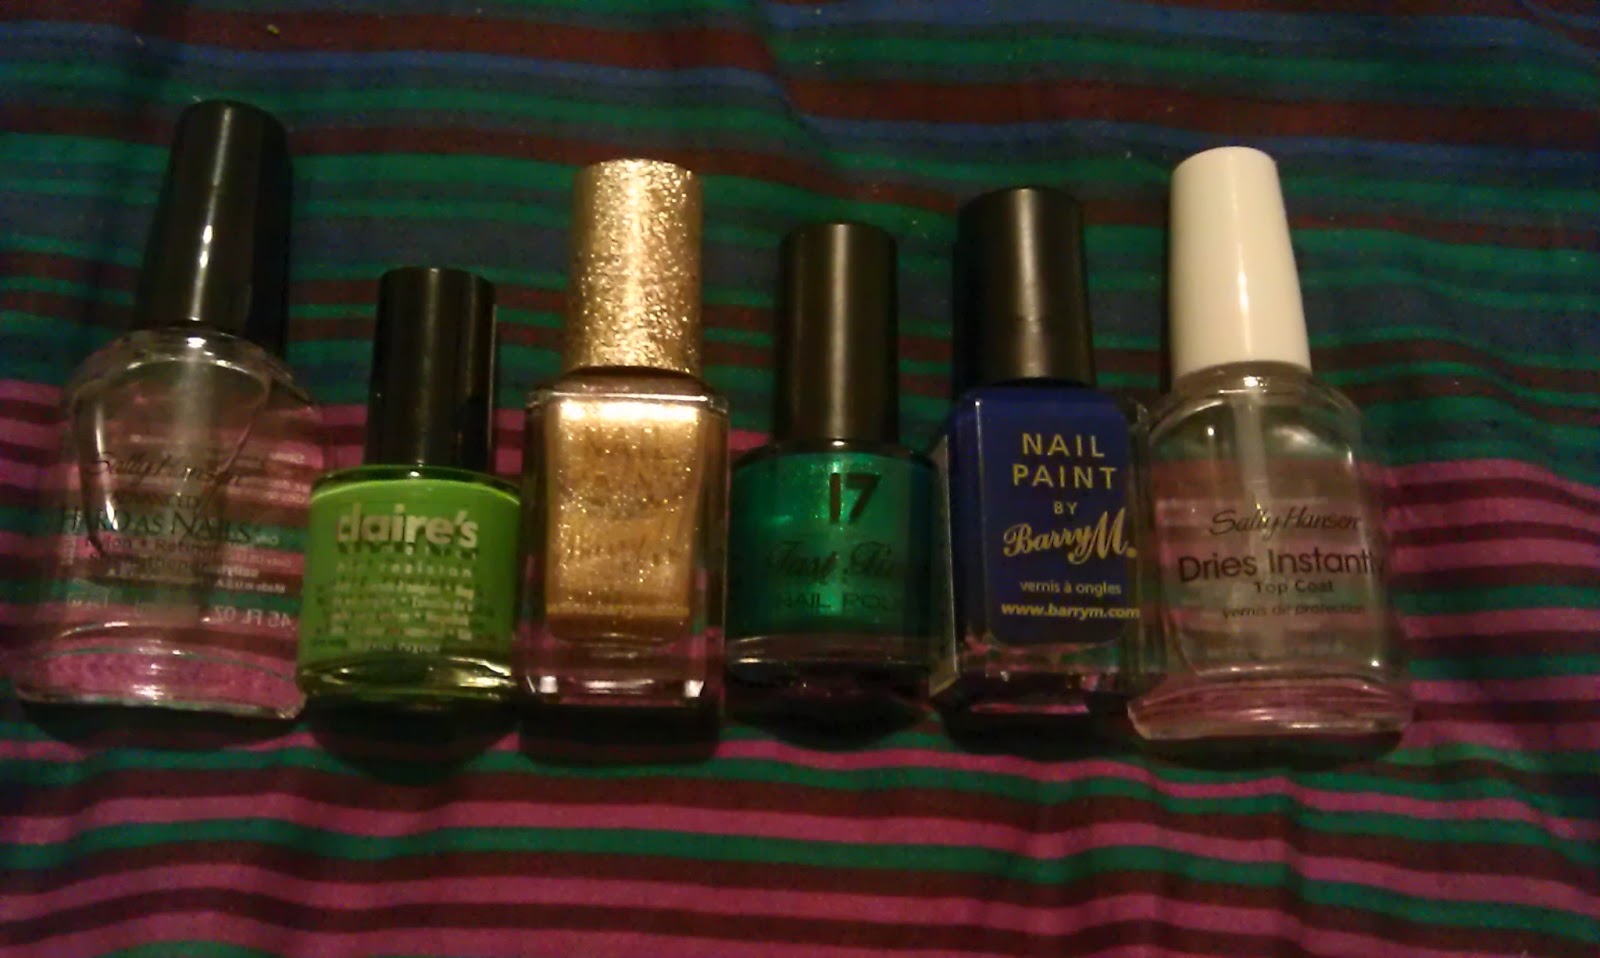
I wanted some nice bright spring colours to start this design, so I used Collection 2000 Siren pink, Beauty UK turquoise shimmer, and good old Barry M Vivid Purple. The Barry M is by far the best (look how shiny!) but for cheap makes, the other two are not bad at all (all only just one coat in this photo!).


Then the next thing that came to mind about spring was Daisy's! So I used a french manicure white to paint a diagonal cross on my thumb, then add a horizontal line across the middle to finish off the petals, and a line of Collection 2000 Shimmy Shake for the stalk. Then to finish off the daisy I added a blob of the same shiny gold in the middle.


The next thing that came to mind about spring was... Easter eggs (!!) and all the cool shiny wrapping they come in.


In my attempt to make the rest of my nails look like Easter eggs, I went for Collection 2000 shimmy shake dotted patterns, which I think stood out best on the Barry M purple nail by far! To do this I used the pointy end of a pencil as a make shift dotting tool! :/ (I really need to get round to buying a proper one). But I think it turned out okay, and now I have a nice glittery gold pencil too! :).
 
Hope you like my spring inspired nails, and I'm hoping they may also inspire the weather to get it's act together!
 
Abbi. XxxX


Sunday Night Nails

These are probably one of the best nail art designs I've done so far! Just did a 'pow green' base (maybellines new colour shock collection in boots, 2 coats). Then did a line down the middle using a stripping brush in Barry M Gelly 'Plum', then used various sizes of dotting tools to make the other bits of the design! Very pleased with how these turned out! 

Tuesday 19 March 2013

Pac Man nails

So I decided to go for the retro gaming theme this week, I've been wanting to do this design for a while and eventually got round to it and I'm pretty happy with the results!


So the varnishes that I used were:
Barry M magnetic dark silver as the base, but didn't use the magnet on it, I like the dark colour it gives but isn't as bland as just black.
Next I used Barry M Navy with a striper brush for the outline lines on each of the nails.
Then for the design it was another Barry M yellow for the pac man and dots, Barry M turquoise and Rimmel London tangerine queen for the ghosts. Then a dot of white and navy on top for the eyes. 


The cherries and apple used Nina ultra pro red fox and a green Barry M. 

For the designs I used dotting tools mostly with a thin brush to finish the stalks of the fruit and add the white highlights.

I'm really enjoying this design though and I hope you like it too! I feel I need to do more like this in future!

-Heather

Sunday 10 March 2013

Sunday Night Nails

SO, i think i might make this Sunday night thing a feature! These nails are have been my weekend nails but i'm only getting round to posting them now, so they have become the Sunday night post!

The Nails below were specifically for a 'retro sportswear' themed social for the Gymnastics club. This theme pretty much suited me cus all my clothes are retro sportswear!! But anyway, i have a jacket with these colours on and decided to do this retro-ish design. I am sure i have this design in my head because i saw it on a blog once, so if i copied you i am SOOOOO sorry! i did look at all my favorites on my google reader to try and find the inspiration, so if it is you, i would love to give you credit!!


I got a new holographic polish from the boots 17 range, 'holo' (which is actually pretty good) which i was dying to try out, so thats what i have gone for on the accent nails. I started off with a base coat of 'mini skirt' from the boots 17 range to lighten up the other colours as i knew they didn't have great coverage. Then i used a barry m nail paint (borrowed from my housemate so i cant remember the colour name) and a nails inc. mini from a set i got at Christmas  The purple triangles are Barry M Gelly Plum which i love. I used tape to get the triangles sharp as possible. 

On a side note - mini-review of nails inc. nail varnish - RUBBISH! lol, i got the set of mini's from boots for Christmas this year, and although i am thankful to have more colours, they cannot be used as a base in a design ever as they need 4 or more coats to look half decent! Not good at all, ill be sticking to Barry M in the future!!!

Have a good week!
- Faye.


Sunday 3 March 2013

Gradient Nails

So here are my gradient nails! Hope you like them, although sorry about the poor quality of photo. This design is pretty easy and doesn't take a ridiculous time to do.

To do this design I used trusty Barry M colours, denim, white and clear.
I did this with the normal method of gradient nails, I had a plastic lid and dabbed some denim and white varnish next to one another, got a cocktail stick and mixed the two just at the point of joining so that you can see the gradient on your palette. Next, I grabbed a make sponge and literally dabbed it onto the nails!

Easy as that! You may need to reapply onto the nails a few times, but this can be done with any colours you want! And if you want a bit of a challenge, maybe use three colours or even try the gradients at different angles... I haven't tried either of these yet, but they're on my list!

-Heather

Sunday Night Nails


Sunday nights tend to be the night of the week where i have the most time to spend on my nails.The annoying bit about that is that they have to be relatively tame for work during the week so i can generally only have really crazy nails at the weekend. Despite that, i have managed to do some fairly loud ones today! I followed this tutorial for my peacock nails:


This is the result i got: 

I reckon it looks pretty good eh? Obviously needs a bit of a tidy up, but i find that when i wash my hair in the mornings, it tends to just come off, so figured that it didn't really matter clean-up wise just yet. I love the way it looks a bit like the 'evil eye' that u find in places like turkey. I used a dotting tool for everything here, i pretty much swear by them, and they were only a few quid on Ebay. 

These are the polishes i used (sorry crap picture):


I love the Sally Hansen base and top coats - the fast drying top coat is a must! 

Check out the rest of Cutepolish's video tutorials on Youtube, they are great! 

-Faye